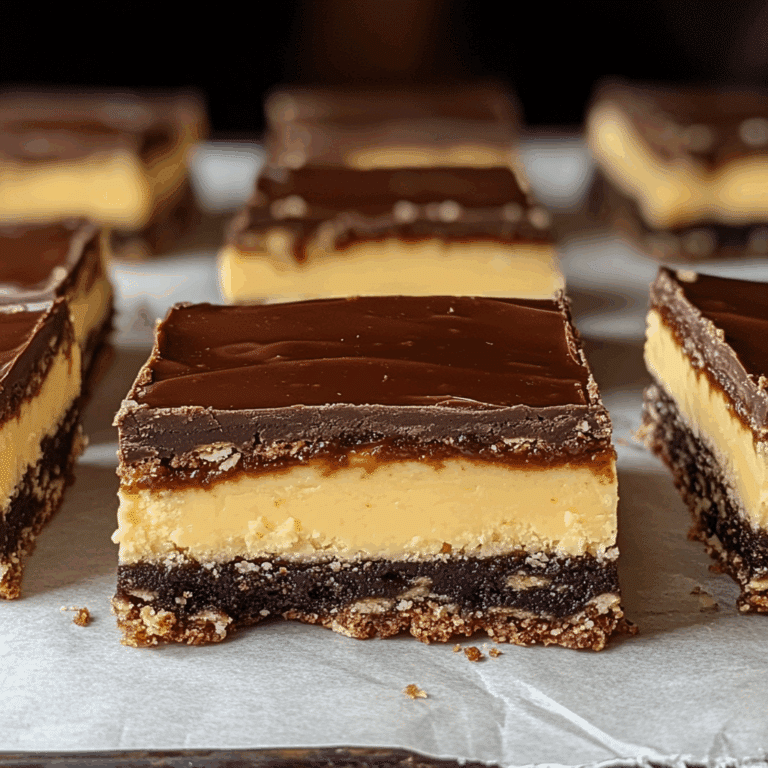
How to Make Spiderweb Chocolate Cookies Easily

If you’ve ever wanted to wow your friends and family with a baked treat that’s as tasty as it looks, Spiderweb Chocolate Cookies are the perfect choice. These delightful cookies combine the rich, beloved flavor of chocolate with an eye-catching, intricate spiderweb design that’s surprisingly easy to create. Whether you’re baking for a festive occasion like Halloween or just craving a fun baking project, this recipe will guide you through simple steps to achieve delicious, beautifully decorated Spiderweb Chocolate Cookies everyone will adore.
Why You’ll Love This Recipe
- Fun and Decorative: The spiderweb design adds a playful and elegant touch that makes these cookies stand out.
- Rich Chocolate Flavor: Made with quality cocoa and chocolate chips, every bite is satisfyingly chocolaty.
- Beginner Friendly: The step-by-step process is straightforward, making it great for novice bakers and kids.
- Versatile Treat: Perfect for holidays, parties, or just a cozy night in with a cup of tea or coffee.
- Customizable: Easily adapted to suit different tastes or dietary preferences without losing charm.
Ingredients You’ll Need
Spiderweb Chocolate Cookies require simple, easily found ingredients that contribute to texture, flavor, and that perfect spiderweb look. Each one plays a crucial role in making your cookies delicious and visually stunning.
- All-purpose flour: Provides the structure for your cookies, ensuring the perfect chewiness.
- Cocoa powder: Delivers deep chocolate flavor and rich color to the cookie dough.
- Baking soda: Helps the cookies rise and keeps them light rather than dense.
- Butter: Adds richness and helps create a tender crumb with a luscious mouthfeel.
- Sugar (granulated and brown): Balances sweetness with a hint of molasses from brown sugar for moisture.
- Egg: Binds all ingredients together and provides structure.
- Vanilla extract: Enhances overall taste with a warm, fragrant note.
- Chocolate chips: Create melty pockets of pure chocolate delight inside the cookies.
- Powdered sugar or white icing: Used for piping the spiderweb design after baking for sharp contrast.
Variations for Spiderweb Chocolate Cookies
One of the best things about Spiderweb Chocolate Cookies is how easy it is to mix things up and make the recipe your own. Feel free to experiment with these fun twists that cater to your preferences or dietary needs.
- Gluten-Free Option: Swap all-purpose flour with a gluten-free blend for chewy, celiac-friendly cookies.
- Nutty Addition: Mix in chopped nuts like almonds or walnuts for added crunch and flavor complexity.
- Spicy Kick: Add cinnamon or a pinch of cayenne pepper to the dough for a warming, unexpected twist.
- White Chocolate Web: Pipe the spiderweb design with melted white chocolate for a different contrast.
- Dairy-Free: Use plant-based butter and dairy-free chocolate chips for a vegan-friendly treat.

How to Make Spiderweb Chocolate Cookies
Step 1: Preparing the Dough
Start by creaming softened butter with both granulated and brown sugar until fluffy. Then add the egg and vanilla extract, mixing until fully combined. In a separate bowl, whisk together the flour, cocoa powder, and baking soda. Gradually incorporate the dry ingredients into the wet mixture without overmixing to avoid tough cookies. Finally, fold in the chocolate chips for delicious bursts of melted chocolate in every bite.
Step 2: Shaping and Baking
Preheat your oven to 350°F (175°C). Scoop the dough onto parchment-lined baking sheets using a cookie scoop or tablespoon, spacing them evenly. Flatten each round slightly with the palm of your hand or bottom of a glass to form a uniform base for the spiderweb design. Bake for 10 to 12 minutes until the edges look set but the center remains soft. Let them cool fully on a wire rack before decorating.
Step 3: Creating the Spiderweb Design
Mix powdered sugar with a small amount of water or milk to make a thick but pipeable icing. Transfer the icing to a piping bag with a small round tip or use a zip-lock bag with a pinched corner. Starting from the center of each cookie, pipe concentric circles outward covering the surface. Use a toothpick or skewer to drag lines from the center to the edge, pulling through the icing in straight lines to create the classic spiderweb effect.
Pro Tips for Making Spiderweb Chocolate Cookies
- Butter Temperature: Use room temperature butter for easy creaming and better dough texture.
- Chill the Dough: Refrigerate for 30 minutes if the dough feels too soft, making shaping easier.
- Consistent Cookie Size: Use a scoop to ensure even baking and uniform chocolate chip distribution.
- Icing Thickness: Adjust icing with more liquid or powder for smooth piping and clean spiderweb lines.
- Practice Makes Perfect: If you’re new to piping, try the spiderweb design on parchment before your cookies.
How to Serve Spiderweb Chocolate Cookies
Garnishes
Sprinkle a tiny pinch of edible glitter, cocoa powder dust, or crushed mini marshmallows around the edges to enhance visual appeal and add interesting textures and tastes to your cookies.
Side Dishes
Pair these cookies with creamy vanilla ice cream, a rich hot chocolate, or a fresh fruit salad to balance the deep chocolate flavor with cool or refreshing accompaniments.
Creative Ways to Present
Arrange Spiderweb Chocolate Cookies on a decorative platter with themed napkins for parties or box them up as charming homemade gifts, wrapping them individually in cellophane with colorful ribbons for that extra thoughtful touch.
Make Ahead and Storage
Storing Leftovers
Store cooled cookies in an airtight container at room temperature, layering parchment paper between to prevent sticking. They stay fresh for up to 5 days without losing texture or flavor.
Freezing
Freeze uniced cookies in a single layer on a baking sheet, then transfer to a freezer bag once solid. Defrost at room temperature before decorating or enjoying, allowing you to make batches in advance.
Reheating
Warm frozen or stored cookies for 10-15 seconds in the microwave or briefly in a preheated oven to revive softness and melty chocolate goodness as if freshly baked.
FAQs
Can I use dark chocolate instead of regular chocolate chips?
Absolutely! Dark chocolate chips add a slightly more intense cocoa flavor and work perfectly in Spiderweb Chocolate Cookies for a sophisticated twist.
Do I have to pipe the spiderweb with icing?
You can also use melted chocolate or white chocolate for piping, offering different flavors and textures to complement the cookie base.
How long do Spiderweb Chocolate Cookies stay fresh?
Stored properly in an airtight container, these cookies stay fresh up to five days at room temperature, maintaining both flavor and texture.
Can I make these cookies gluten-free?
Yes, using a gluten-free flour blend in place of all-purpose flour works well, just be sure to check your cocoa and chocolate chips for gluten-free certification.
What’s the best way to ensure my spiderweb design looks clean?
Use icing that’s thick enough to hold shape but soft enough to pipe smoothly. Steady hands and practice on parchment paper help achieve precise lines.
Final Thoughts
If you’re looking to bake something that’s fun to make, delicious to eat, and impressive to present, Spiderweb Chocolate Cookies are an absolute winner. The combination of rich chocolate, tender texture, and stunning design creates a treat that’s sure to bring smiles to every occasion. Grab your ingredients and get baking—you’ll love how easily these cookies add a special touch to your kitchen creations!
Related Posts
- Irresistible Apple Coffee Cake with Cinnamon Streusel
- Easy Apple Crisp with Oats and Cinnamon Recipe
- Why Sour Cream Apple Pie with Brown Sugar Streusel Wins

Spiderweb Chocolate Cookies
- Total Time: 27 minutes
- Yield: 24 cookies 1x
- Diet: Gluten Free
Description
Spiderweb Chocolate Cookies are a fun, decorative baked treat combining rich chocolate flavor with a striking spiderweb icing design. Perfect for festive occasions like Halloween or anytime you want to impress with an easy-to-make and visually stunning cookie. This beginner-friendly recipe guides you through making tender, chocolaty cookies finished with an eye-catching spiderweb pattern.
Ingredients
Dry Ingredients
- 1 ¾ cups all-purpose flour (can substitute gluten-free flour blend)
- ¼ cup cocoa powder
- ½ teaspoon baking soda
Wet Ingredients
- ½ cup unsalted butter, softened (or plant-based butter for dairy-free)
- ½ cup granulated sugar
- ½ cup brown sugar, packed
- 1 large egg
- 1 teaspoon vanilla extract
Add-Ins
- 1 cup chocolate chips (dairy-free if desired)
Decoration
- Powdered sugar
- Water or milk (to mix with powdered sugar for icing)
Instructions
- Preparing the Dough: Cream softened butter with both granulated and brown sugar until fluffy. Then add the egg and vanilla extract, mixing until fully combined. In a separate bowl, whisk together the flour, cocoa powder, and baking soda. Gradually incorporate the dry ingredients into the wet mixture without overmixing to avoid tough cookies. Finally, fold in the chocolate chips for delicious bursts of melted chocolate in every bite.
- Shaping and Baking: Preheat your oven to 350°F (175°C). Scoop the dough onto parchment-lined baking sheets using a cookie scoop or tablespoon, spacing them evenly. Flatten each round slightly with the palm of your hand or bottom of a glass to form a uniform base for the spiderweb design. Bake for 10 to 12 minutes until the edges look set but the center remains soft. Let them cool fully on a wire rack before decorating.
- Creating the Spiderweb Design: Mix powdered sugar with a small amount of water or milk to make a thick but pipeable icing. Transfer the icing to a piping bag with a small round tip or use a zip-lock bag with a pinched corner. Starting from the center of each cookie, pipe concentric circles outward covering the surface. Use a toothpick or skewer to drag lines from the center to the edge, pulling through the icing in straight lines to create the classic spiderweb effect.
Notes
- Use room temperature butter for easy creaming and better dough texture.
- Refrigerate dough for 30 minutes if it feels too soft, making shaping easier.
- Use a scoop to ensure cookies are uniform size for even baking.
- Adjust icing thickness with more liquid or powdered sugar for smooth piping and clean spiderweb lines.
- If new to piping, practice the spiderweb design on parchment paper before decorating cookies.
- Prep Time: 15 minutes
- Cook Time: 12 minutes
- Category: Appetizers
- Method: Baking
- Cuisine: American
Nutrition
- Serving Size: 1 cookie
- Calories: 150
- Sugar: 12g
- Sodium: 80mg
- Fat: 8g
- Saturated Fat: 5g
- Unsaturated Fat: 2g
- Trans Fat: 0g
- Carbohydrates: 18g
- Fiber: 2g
- Protein: 2g
- Cholesterol: 25mg
Keywords: chocolate cookies, spiderweb cookies, Halloween cookies, decorated cookies, easy chocolate cookies, gluten-free cookies, festive treats

