How to Perfect Tempered Chocolate Easily
Discover the magic of creating perfectly smooth and shiny Tempered Chocolate with this easy step-by-step guide. Whether you’re a seasoned chocolatier or a curious home baker, mastering this technique will elevate your chocolate treats with a professional finish and irresistible texture every time.
Why You’ll Love This Recipe
- Stunning shine and snap: Achieve that glossy finish and satisfying crunch that everyone loves in high-quality chocolate.
- Versatile for any dessert: Use tempered chocolate for dipping, molding, decorating, or coating your favorite sweets.
- Enhances flavor and texture: Proper tempering improves the mouthfeel and prevents chocolate from going dull or soft.
- Impress your friends and family: Homemade treats that look store-bought will wow everyone around your table.
- Confident technique: This guide breaks down tempering into simple steps so you can replicate success every time.
Ingredients You’ll Need
The beauty of tempered chocolate is in its simplicity. You only need high-quality chocolate with the right cocoa butter content, and a few kitchen tools help make the process smooth and controlled.
- High-quality chocolate bars or couverture chocolate: Essential for smooth melting and proper crystallization of cocoa butter.
- Chocolate thermometer or instant-read thermometer: Helps you monitor precise temperatures critical for tempering.
- Heatproof bowl: Perfect for gentle melting over simmering water without burning.
- Spatula: Flexible for stirring chocolate evenly and scraping the bowl clean.
- Optional: candy mold or parchment paper: Great for shaping or setting your tempered chocolate into beautiful forms.
Variations for Tempered Chocolate
Once you master the basics of tempered chocolate, you can customize it to suit different tastes, dietary preferences, or creative ideas without much fuss.
- Dark, milk, or white chocolate: Choose your favorite type depending on sweetness and flavor profile; each can be tempered with a slightly different temperature range.
- Flavored add-ins: Stir in finely ground nuts, coffee, or spices right after tempering for an extra punch.
- Vegan or dairy-free options: Use plant-based chocolate bars made with cocoa butter and vegetable oils to keep texture intact.
- Marbled effect: Combine two different tempered chocolates for stunning visual appeal and flavor contrasts.
- Infused chocolates: Add extracts like mint, orange, or chili to melted chocolate before tempering for a unique twist.

How to Make Tempered Chocolate
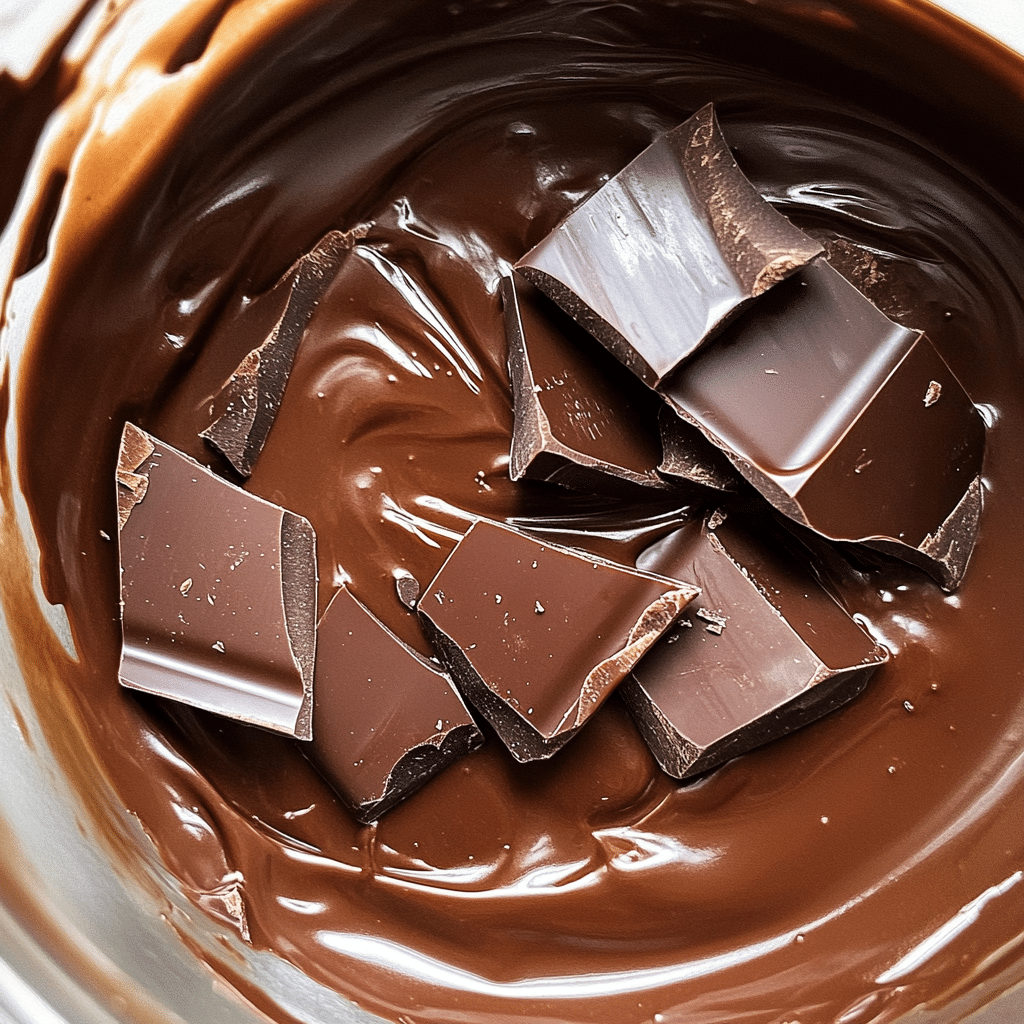
Step 1: Chop and Prepare Your Chocolate
Start by finely chopping your chocolate bars into small, even pieces. This ensures quick and uniform melting without risking overheating any chunks.
Step 2: Melt Two-Thirds of the Chocolate Gently
Place about two-thirds of the chocolate into a heatproof bowl and set it over simmering water (double boiler method). Stir constantly and keep the temperature between 104°F and 113°F (40°C to 45°C) for dark chocolate, or slightly lower for milk and white chocolate.
Step 3: Remove from Heat and Add Remaining Chocolate
Take the bowl off the heat and gradually add the remaining one-third of chopped chocolate. Stir continuously to cool the mixture to 81°F to 84°F (27°C to 29°C), which allows cocoa butter crystals to form.
Step 4: Reheat Slightly for Working Temperature
Return the bowl to the warm water briefly to gently bring the chocolate up to 88°F to 90°F (31°C to 32°C) for dark chocolate or lower for milk and white varieties. Avoid exceeding these temperatures to keep the temper intact.
Step 5: Test and Use Immediately
Spread a small bit of chocolate on parchment or the edge of a plate. If it hardens quickly with a glossy finish and snaps cleanly, your tempered chocolate is perfect. Use it for dipping, molding, or coating right away.
Pro Tips for Making Tempered Chocolate
- Use a reliable thermometer: Precise temperature control is the key to perfect temper every time.
- Avoid moisture: Keep water away from chocolate as any drop can seize the mixture.
- Work fast but carefully: Tempered chocolate sets quickly, so have your tools ready before starting.
- Keep stirring: Continuous stirring encourages even heat distribution and smooth texture.
- Room temperature matters: Work in a cool, dry environment to prevent unwanted bloom or melting.
How to Serve Tempered Chocolate
Garnishes
Use tempered chocolate to create beautiful garnishes like curls, shavings, or shards that add elegance and texture to your desserts.
Side Dishes
Pair tempered chocolate-coated treats with fresh berries, creamy ice cream, or crunchy nuts to highlight the chocolate’s richness and balance flavors.
Creative Ways to Present
Make chocolate molds in fun shapes for parties, or drizzle tempered chocolate over cakes and pastries for eye-catching decoration and added crunch.
Make Ahead and Storage
Storing Leftovers
Keep any unused tempered chocolate in an airtight container at cool room temperature, away from heat and humidity to preserve its glossy finish and snap.
Freezing
Freezing tempered chocolate is generally not recommended as condensation can cause bloom and texture changes when thawed.
Reheating
If you need to remelt tempered chocolate, do so very gently in short increments and redo the tempering process to restore its shine and firmness.
FAQs
What is tempered chocolate, and why does it matter?
Tempered chocolate is chocolate that has been carefully melted and cooled to encourage stable cocoa butter crystals, resulting in a glossy, firm, and crisp finish that doesn’t melt easily at room temperature.
Can I temper chocolate without a thermometer?
While it’s possible using traditional methods like the tabling technique, using a thermometer is highly recommended for accuracy and consistent results.
Why did my chocolate go dull or develop white streaks?
This is called bloom and happens when chocolate isn’t tempered correctly or exposed to temperature fluctuations, causing cocoa butter to separate to the surface.
Is tempered chocolate the same for dark, milk, and white varieties?
The tempering concept is the same, but each type of chocolate requires slightly different temperature ranges due to their unique cocoa butter and milk content.
How long does tempered chocolate stay good once set?
If stored properly in a cool, dry place, tempered chocolate can stay fresh and maintain its quality for several weeks.
Final Thoughts
Tempering chocolate might seem intimidating at first, but with patience and the right approach, you’ll soon be creating glossy, firm, and professional-looking chocolate treats right in your own kitchen. Dive in and enjoy every satisfying snap and shine of your perfectly tempered chocolate.
Related Posts
- Easy 3-Ingredient Peanut Butter Cookies Recipe
- Why Philly Fluff Cake Is Your New Favorite Dessert
- Irresistible Tahini Thumbprints Cookies With Dulce de Leche
Tempered Chocolate
- Total Time: 25 minutes
- Yield: Varies depending on the amount of chocolate tempered
- Diet: Gluten Free
Description
Learn how to create perfectly smooth, shiny, and crisp tempered chocolate with this easy step-by-step guide. Achieve professional quality chocolate treats with a stunning finish and irresistible texture that can be used for dipping, molding, decorating, or coating your favorite desserts.
Ingredients
Main Ingredients
- High-quality chocolate bars or couverture chocolate (quantity as desired, dependent on your project)
Tools
- Chocolate thermometer or instant-read thermometer
- Heatproof bowl
- Spatula
- Optional: candy mold or parchment paper
Instructions
- Chop and Prepare Your Chocolate: Finely chop your chocolate bars into small, even pieces to ensure quick and uniform melting without overheating any chunks.
- Melt Two-Thirds of the Chocolate Gently: Place about two-thirds of the chocolate into a heatproof bowl and set it over simmering water (double boiler method). Stir constantly and keep the temperature between 104°F and 113°F (40°C to 45°C) for dark chocolate, or slightly lower for milk and white chocolate.
- Remove from Heat and Add Remaining Chocolate: Take the bowl off the heat and gradually add the remaining one-third of chopped chocolate. Stir continuously to cool the mixture to 81°F to 84°F (27°C to 29°C), allowing cocoa butter crystals to form.
- Reheat Slightly for Working Temperature: Return the bowl to the warm water briefly to gently bring the chocolate up to 88°F to 90°F (31°C to 32°C) for dark chocolate, or lower for milk and white varieties. Avoid exceeding these temperatures to maintain proper temper.
- Test and Use Immediately: Spread a small amount of chocolate on parchment or the edge of a plate. If it hardens quickly with a glossy finish and snaps cleanly, your tempered chocolate is perfect. Use it immediately for dipping, molding, or coating.
Notes
- Use a reliable thermometer to ensure precise temperature control for perfect tempering.
- Avoid any moisture or water as it can seize the chocolate.
- Work quickly but carefully, as tempered chocolate sets fast.
- Keep stirring continuously for even heat distribution and smooth texture.
- Work in a cool, dry environment to prevent bloom or melting.
- Prep Time: 10 minutes
- Cook Time: 15 minutes
- Category: Desserts
- Method: Tempering (Melting and Cooling)
- Cuisine: International
Nutrition
- Serving Size: Depends on use
- Calories: Approx. 150-160 per 30g serving of dark chocolate
- Sugar: Varies by chocolate type
- Sodium: Negligible
- Fat: Approx. 12g per 30g serving
- Saturated Fat: Approx. 7-8g per 30g serving
- Unsaturated Fat: Approx. 4-5g per 30g serving
- Trans Fat: 0g
- Carbohydrates: Approx. 15g per 30g serving
- Fiber: Approx. 2g per 30g serving
- Protein: Approx. 2g per 30g serving
- Cholesterol: 0mg
Keywords: tempered chocolate, melting chocolate, chocolate tempering, chocolate dipping, chocolate coating, glossy chocolate, professional chocolate, chocolate molding